|
|
| Register | Forums | Blogs | Today's Posts | Search | Donate |
 |
 |
 |
|
#1
 08-05-2011, 03:16 AM
|
|||||
|
|||||
|
At couple of years ago, when I got my CBOB, I couldn't stand the thought of putting it in a plastic holster. "So," I think to myself, "how hard could it be?" I trot off to the Tandy Leather store, and the rest is sort of history. When I had one that I liked for the CBOB, I posted some pictures over in the DW forum at 1911forum.com. Several folks - including Mr. neener - said "Hey, if you're selling, I'll buy one." So, Larry was my first customer. After he had one for his DW, he said "what about a lined one for my CQB?" Two years later, I've finally started working on it.
 In honor of this momentous occasion, I thought I'd document the process for posterity. So, without further ado, let's retire to the Dungeon. Here's what the Dungeon looks like today: 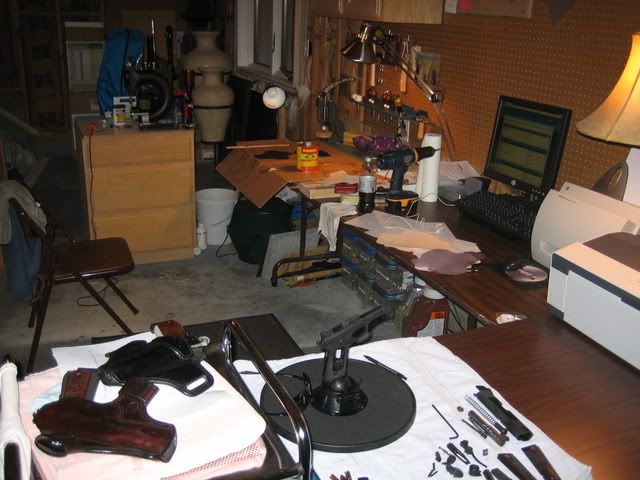 You can see my Dillon 550 shares the cabinet with my sticher:  I used to use an X-Acto knife to cut the leather, but I'd go through a ton of blades. For Christmas, my wife got me a very nice, round head knife: 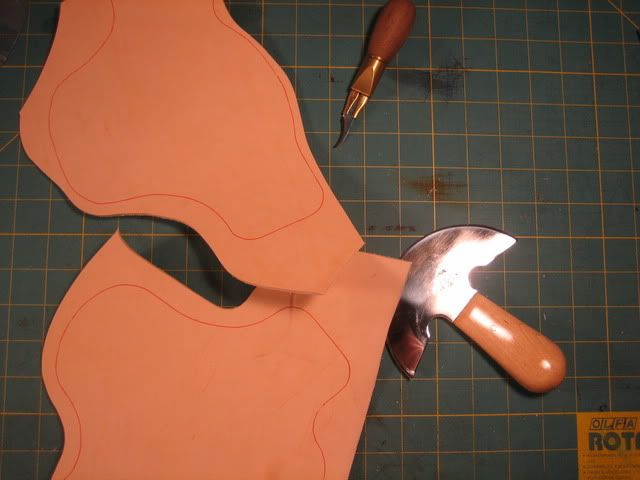 A piece of leather glued to a board with some jewler's rouge makes a nice strop: 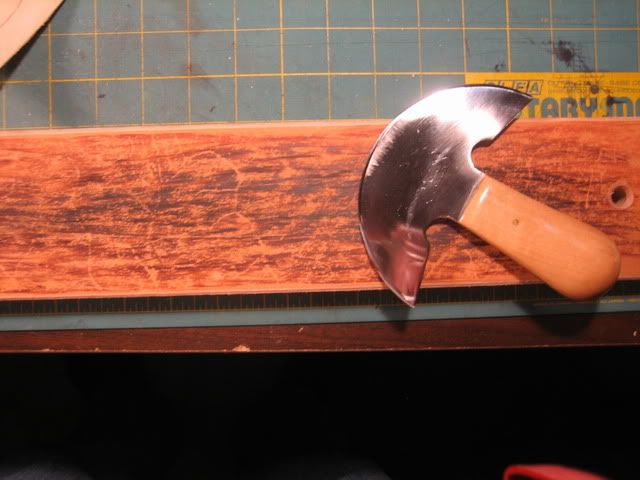 We are going to line this one, so I cut out some  skin suede: skin suede: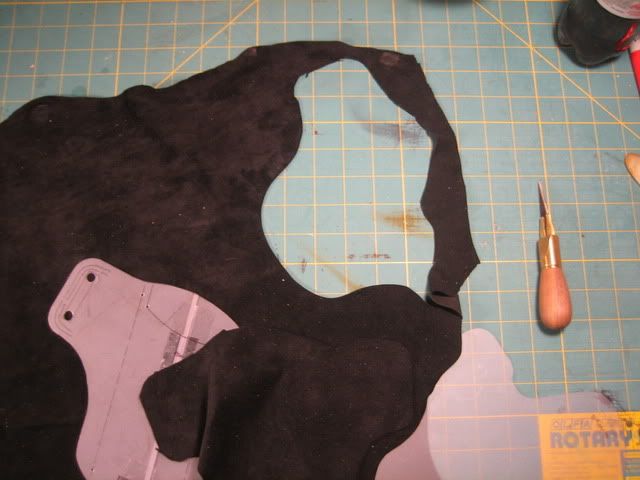 I use a contact cement made for leather. It also gives a pretty good buzz. A thin coat on all the pieces, and set 'em aside to dry. That's pieces of my Wiley Clapp  on the table: on the table: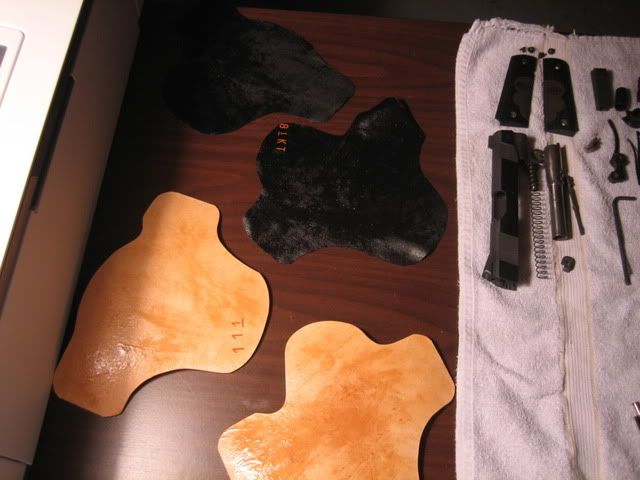 While we wait for the cement to dry, I'll cut out the little pieces for the COTEP logo stamp. It'll get glued and stitched to the front piece tomorrow: 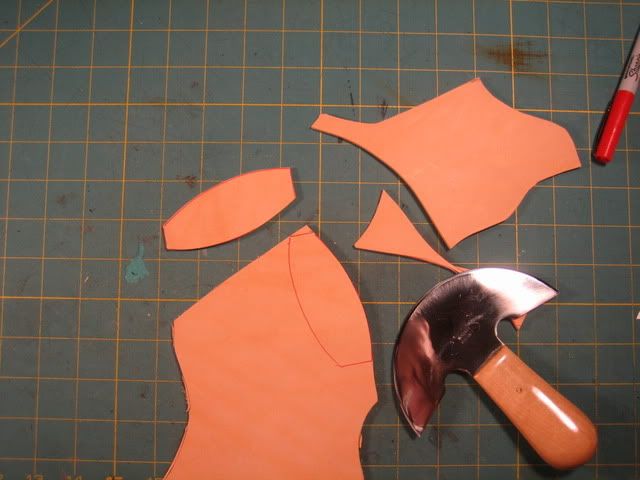 Once the cement has dried, we stick the pieces together. Once the pieces touch, they don't want to separate, so it's important to get 'em right the first time. Here's where we are at the end of today: 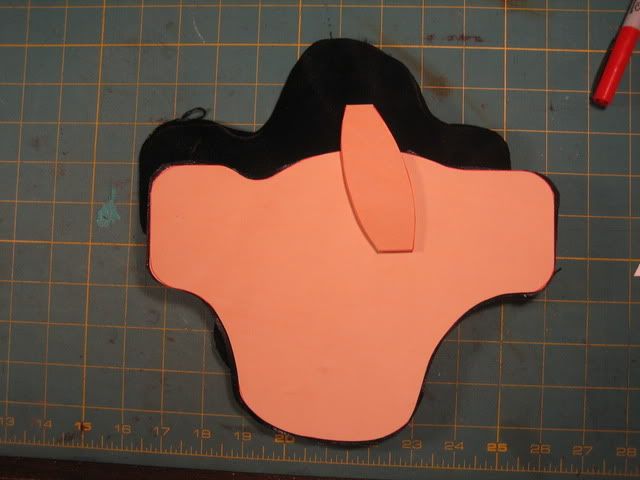 Tomorrow, if things work out, we'll attach the COTEP medallion and glue the front to the back. Also, I'm going to start a separate thread to document the continued attempts at making a home for  's Black Ops, and we'll start one for 's Black Ops, and we'll start one for  's OWB. 's OWB.Lane
__________________
"Be nice - everyone you meet is facing a hard battle" - Marjorie P. Hinckley Dungeon Master - LASCO Leather, Home of the COTEP Deacon COTEP #268 
|
|
#2
08-05-2011, 03:13 PM
|
|||||
|
|||||
|
HIP HIP HOORAY
__________________
CBOB:0002 1905 Savage 380, 1978, 1980 DW Pistol Pacs, Severns Custom 1985 Springer 1911A1, 09 DW Marksman, S&W Model 19-6, GSG 1911 22LR. , S&W Model 29-2
|
|
#3
08-05-2011, 09:29 PM
|
||||
|
||||
|
I need a fainting smile!!!!!!!
|
|
#4
08-08-2011, 03:36 AM
|
|||||
|
|||||
|
Time for some updates... quite a bit has been finished since I posted this.
Before I can attach the medallion, I put the COTEP logo on it. This is done with a stamp I had made. You wet the leather and give a a couple of good whacks with a plastic mallet. I was always having problems with the stamp "bouncing" and making a blurry image. So I put on my McGyver hat and modified it so that I can use my snap/rivet press for pressing the images. Works great! 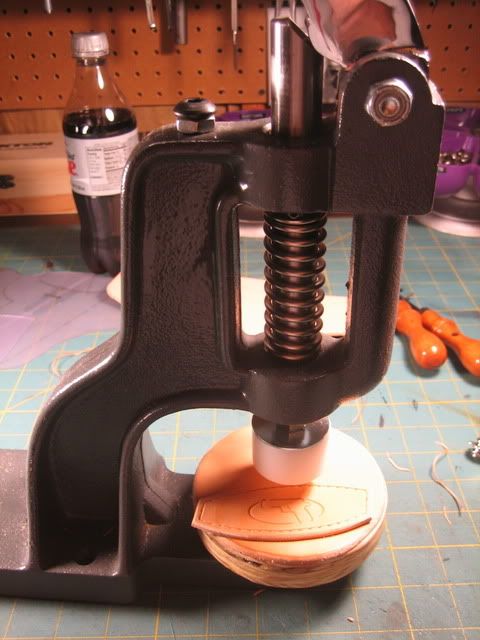 Now, we mark out the stitching lines and locate where the medallion will be attached: 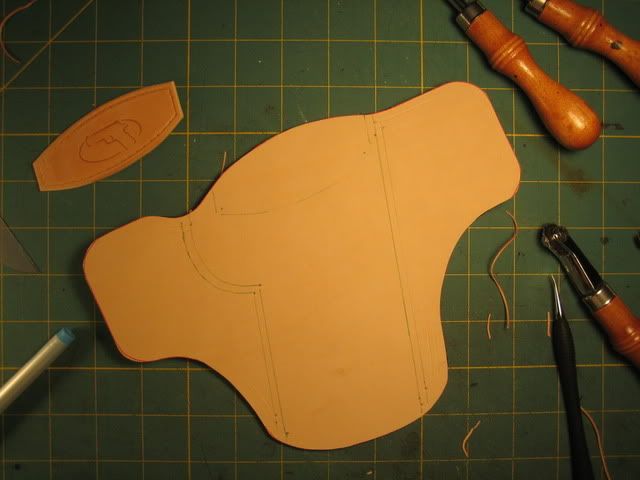 Even though I use a stitching machine that gauges the stitches, I still like to layout all of my stitches before hand. I guess I'm a bit anal... 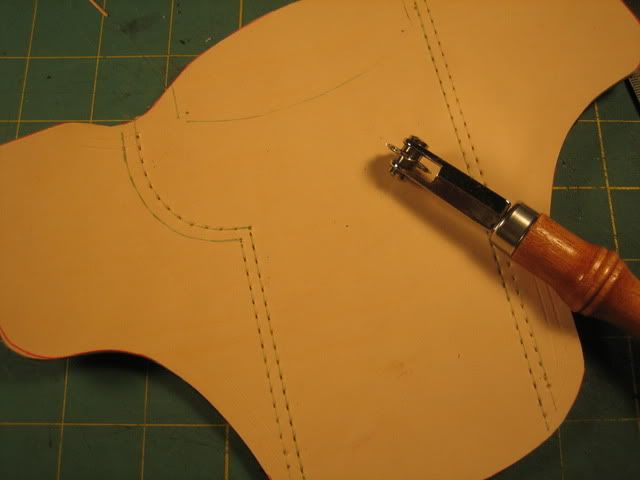 Now, I rough up the area where I'm going to glue the medallion. The tanned side of the leather is very smooth - the cement adheres better if its scuffed up some: 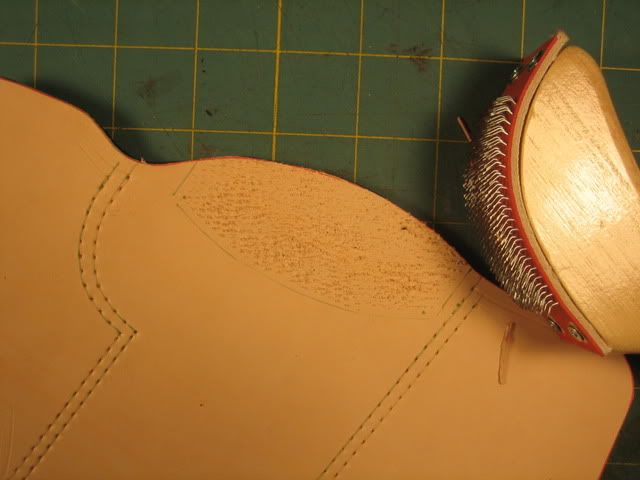 Using the same leather cement, I glue on the medallion, then it's over to the stitcher. I use a Tipmann Boss. It all manual - pull the lever and one stitch is sewn. It'll go through up to 3/4" of leather. I've tried...  After the medallion is attached, I trim the lining leather on all edges that will be open so that there are no rough edges: 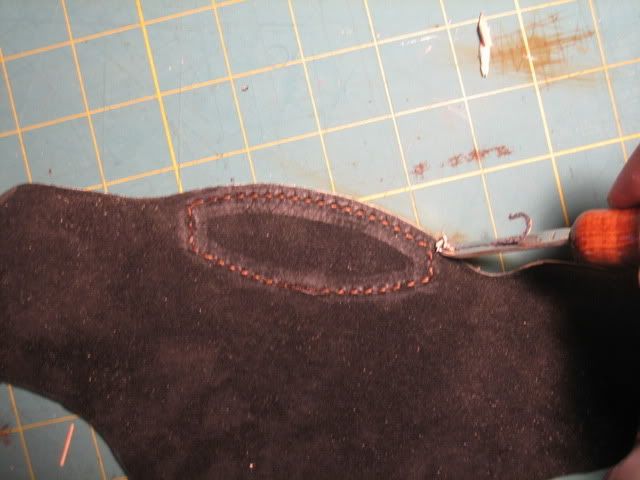 Since this one is lined, we'll run a row of stitches around the edge of the sweat guard - I think it helps make it look "finished": 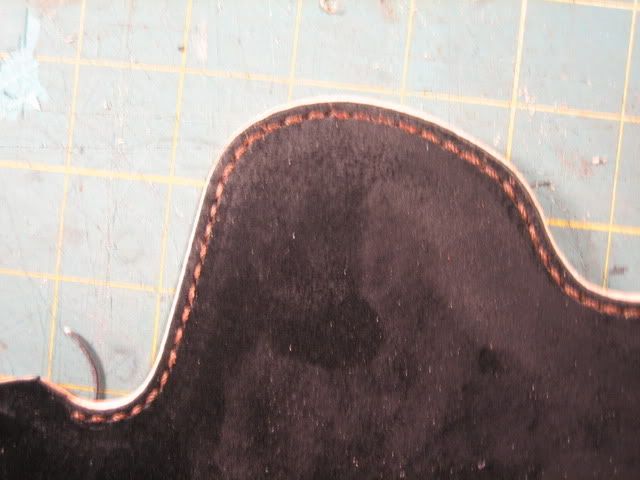 Here's what it looks like after gluing the front to the back: 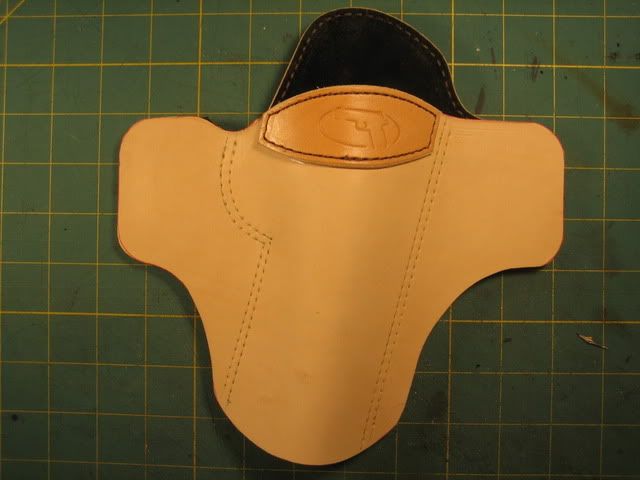
__________________
"Be nice - everyone you meet is facing a hard battle" - Marjorie P. Hinckley Dungeon Master - LASCO Leather, Home of the COTEP Deacon COTEP #268
|
|
#5
08-08-2011, 03:42 AM
|
|||||
|
|||||
|
Once the glue has dried, I need to make sure that the edges are completely smooth and lined up. No matter how hard I try, it's impossible to get the pieces lined up perfectly. I bit of trimming with the knife and a trip to the drum sander takes care of that:
 Now, back to the stitcher: 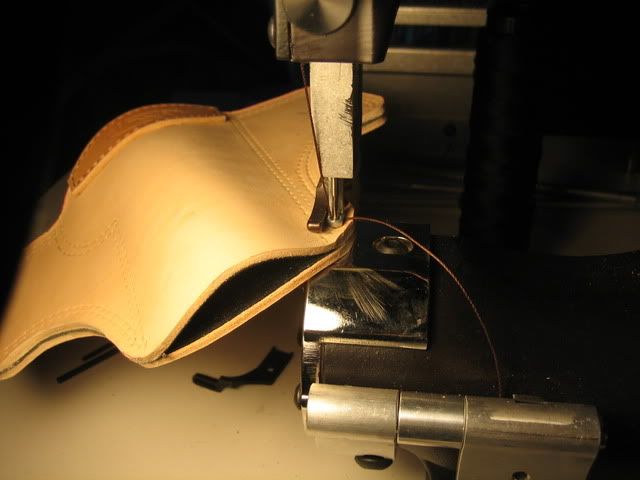 This little wheel helps keep the stitching lines parallel and straight: 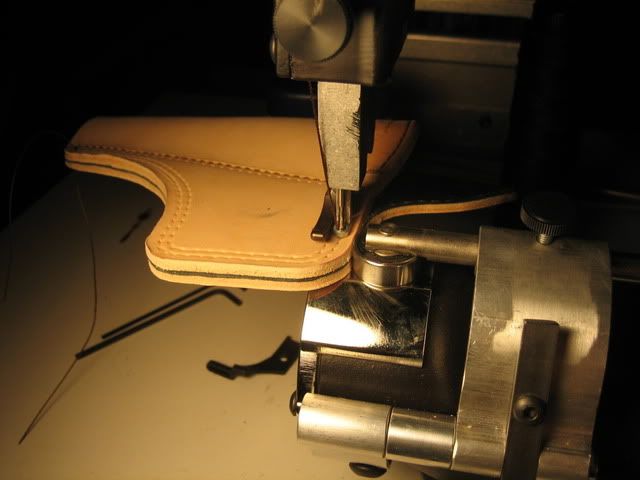 About 20 minutes later, we are done stitching: 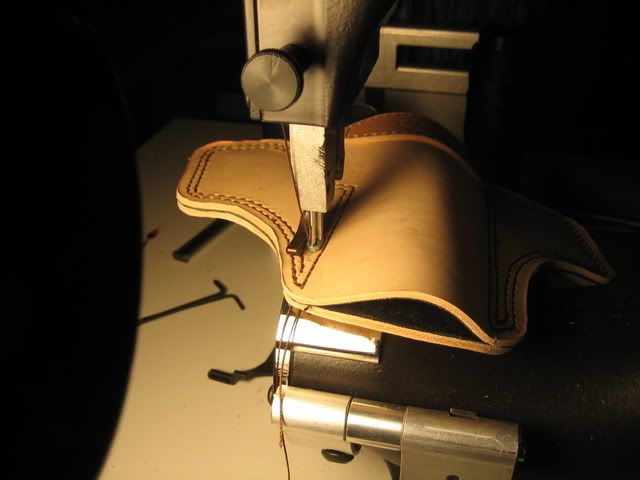 Now, using the #3 beveling tool, I trim the edges: 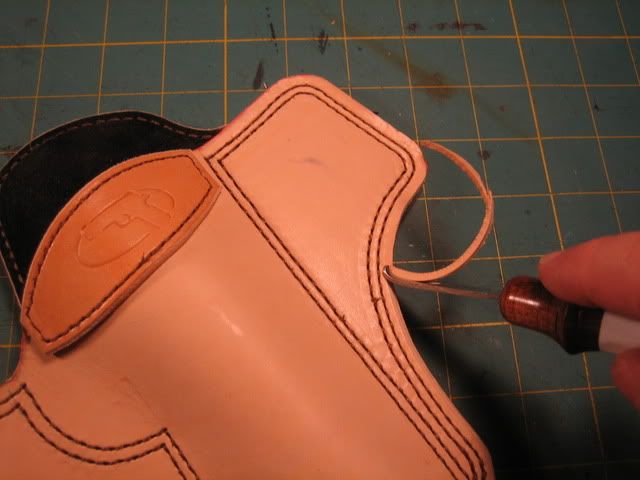 This strop board, helps keep the beveling tools razor sharp: 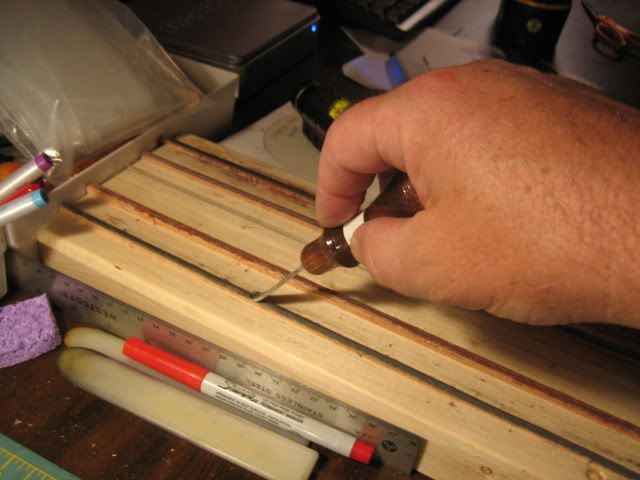 This is where we are right now - tomorrow I'll cut the belt slots and apply the hot pink leather dye. Lane
__________________
"Be nice - everyone you meet is facing a hard battle" - Marjorie P. Hinckley Dungeon Master - LASCO Leather, Home of the COTEP Deacon COTEP #268
|
|
#6
08-08-2011, 10:52 AM
|
|||||
|
|||||
|
Great posts Lane.
 Holster making is not as easy as some think is it Lane!!! It looks like a lot of time and hard work go into each and every holster.
__________________
"This is the 44 Magnum AutoMag and holds a 300 grain cartridge and if properly used can remove the fingerprints"!! COTEP # CBOB0152
|
|
#7
08-08-2011, 11:43 AM
|
|||||
|
|||||
|
Quote:
LS
__________________
"Be nice - everyone you meet is facing a hard battle" - Marjorie P. Hinckley Dungeon Master - LASCO Leather, Home of the COTEP Deacon COTEP #268
|
|
#8
08-08-2011, 03:58 PM
|
|||||
|
|||||
|
You are doing great just as you are doing it Lane but I am sure that you would like to be able to spend more time with your family!!!
__________________
"This is the 44 Magnum AutoMag and holds a 300 grain cartridge and if properly used can remove the fingerprints"!! COTEP # CBOB0152
|
|
#9
08-10-2011, 02:34 AM
|
|||||
|
|||||
|
OK - an update. BTW - did anyone notice that in the first picture in this post, my computer screen is on COTEP.org??
 It's time to cut the belt slots. I usually lay these out by hand - I've never had much luck getting them straight using a template. Being anal costs me a lot of time: 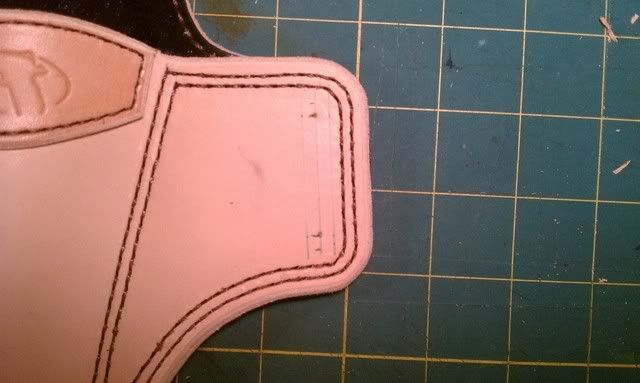 Once I've located the slots, I cut holes on either end at the drill press: 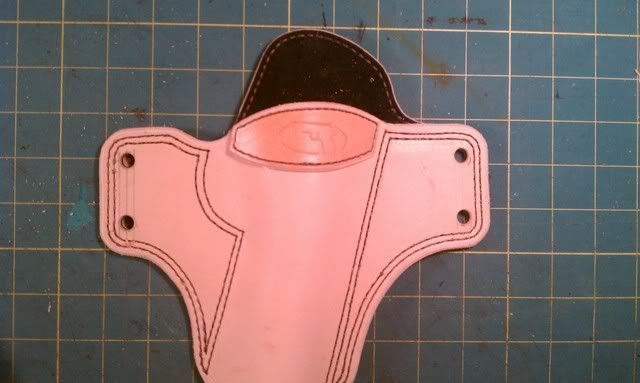 With the holes drilled, I use a razor sharp chisel, I cut the slots. I'm sometimes amazed that with all the sharp tools that leather working uses, I still have yet to shed blood on a project. Usually, any time I'm using any type of tool, my wife and daughters draw straws to see who's turn it is to drive to the ER.  Anyway, I've found that it works best to only cut part way from the front, then flip it over and cut the rest of the way from the back. Anyway, I've found that it works best to only cut part way from the front, then flip it over and cut the rest of the way from the back.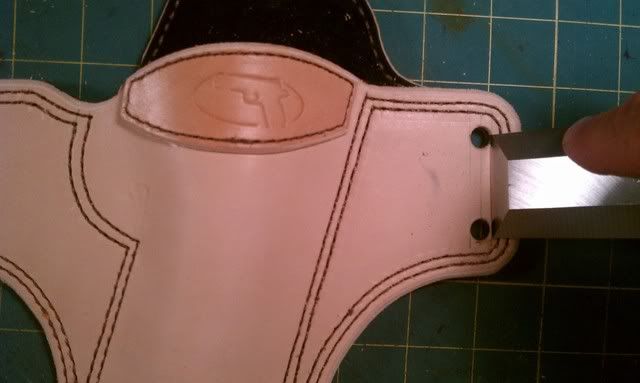 Here's what it looks like after a bit of cleanup with the trim knife:  Now, I use the #2 bevel tool to make the slots look nice and finished:  Here's a better shot of what they look like when they're finished: 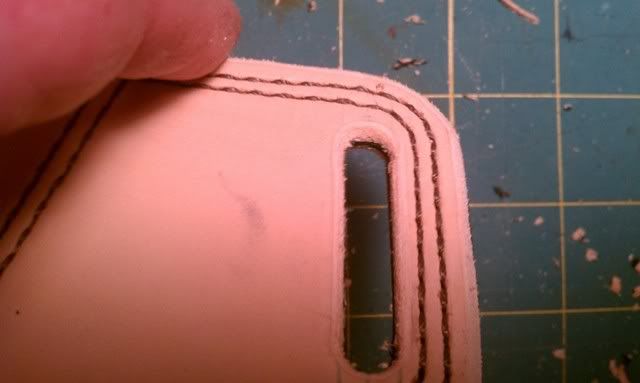 Now, we need to get it ready for dying. First, flip it over and using my handy-dandy press modification, add my makers mark:  After stamping the mark, I use a very wet cloth to wipe it down with water. This cleans the leather, makes the disappearing ink disappear, helps me locate the places where there might be glue that needs to be cleaned up, and also helps start to remove any marks from stitching. When it's dry, I give it a good rub down with deglazer (essentially acetone) to remove any waxes or oils - and give me a good buzz. After it's dry, I can apply the dye with a sponge brush, then set it aside to dry. Here's what it looks like tonight: 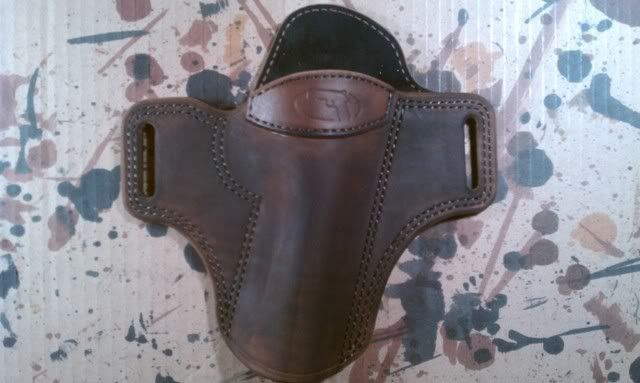 Tomorrow, we'll start working the edges and adding finish. Lane
__________________
"Be nice - everyone you meet is facing a hard battle" - Marjorie P. Hinckley Dungeon Master - LASCO Leather, Home of the COTEP Deacon COTEP #268
|
|
#10
08-10-2011, 11:44 PM
|
|||||
|
|||||
|
A short update today - we are now to the part of the process where most of the time is spent waiting for one thing or another to dry. Once the dye is dry (usually over night, but I can do them within an hour if needed) - it's time for wet forming the holster. I fill a sink with hot tap water and submerge the entire holster for 60-90 seconds. After it's set for a minute or so, I work the mold piece (either one of my own or a blue gun) into the holster and get it positioned in relation to the stitching so it all looks nice. Then it's off to the vacuum press.
I found this thing on the internet - just like everything else... It's actually made for laminating skateboard decks, but it works very well for molding holsters. It's very thick plastic and has a little manual pump that I use to suck out the air. The orange mesh is designed to make air channels around the piece so that the air can be completely removed. In this picture, I've just started with the boning process, using a couple of little tools I picked up at the leather store. A word of caution - be careful searching for the term "boning tools" on the Internet. I'm just sayin... 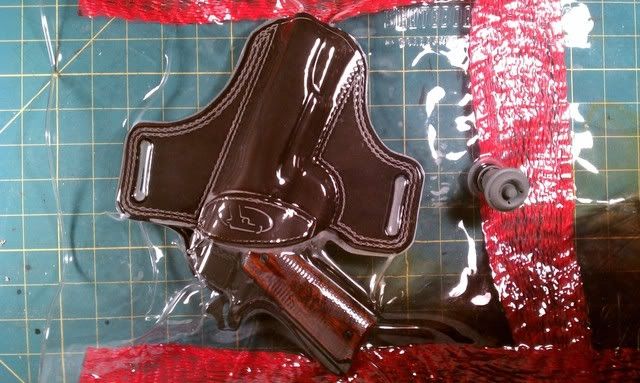 Here's another shot adding some detail near the muzzle: 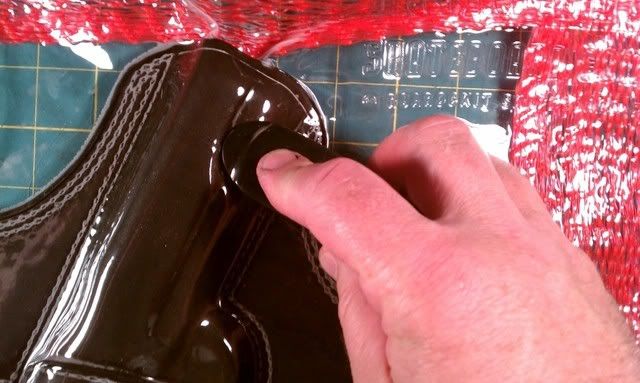 Once I've got it molded how I like, I add a bit of pre-bend to the holster body. This makes break in a bit faster. The leather eventually will take on the appropriate shape, this just speeds things up a tad. I've found that I tend to do a bit more detailed boning that I used to - some may like more or less detail. It's a bit of a personal preference. I try to make sure that the trigger guard and ejection port get detailed pretty good - they are key to good retention. It's now set aside on some rolled up towels to dry. In an hour or so, I'll pull it out of the press so that it can finish drying and I can mold another: 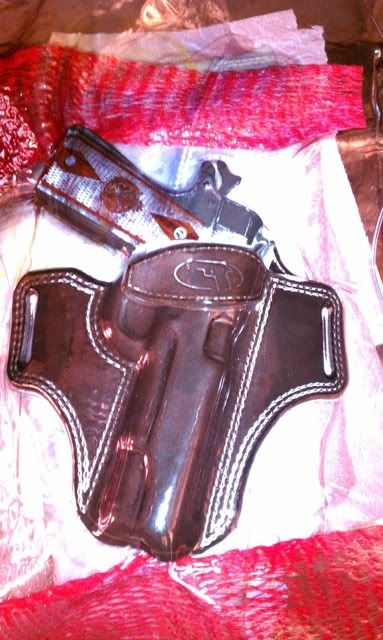 Tomorrow, if it's dry, we'll finish the edge and start applying various finish products. Almost done! Lane
__________________
"Be nice - everyone you meet is facing a hard battle" - Marjorie P. Hinckley Dungeon Master - LASCO Leather, Home of the COTEP Deacon COTEP #268
|


 Linear Mode
